How to Make a Paper Wolf Origami
Image © eAlisa under a creative commons licence.
Easy origami for kids is not only a great way to get them excited about crafts, but it's also incredibly beneficial to their brain development and fine motor skills.
Children love origami animals and this simple origami wolf is the perfect introduction to the age-old art form. Once they are able to make an origami wolf, your child can move on to other creatures and begin to build a collection of wonderful origami woodland animals.
Origami is the art of creating objects out of folded origami paper; a type of paper that is made especially for folding and is design to stay in shape. Origami creations range from simple and small figurative forms, to complex and sizeable abstract pieces.
Believed to have originated 2,000 years ago, origami is a Japanese word; "oru" means "to fold" in Japanese, and "kami" means "paper". It is thought that paper-folding in Europe started to become popular in the 17th century, having evolved from elaborate techniques for napkin-folding. Origami soon began to become a favourite activity for children as it is fun to do and requires very few resources.
Origami fuels imagination and creativity, improves dexterity and concentration, and gives your child a great sense of achievement. And it's a lot of fun! Start them off something simple, like this easy origami wolf, as more complex instructions can be a bit overwhelming at first. If your little one has a flair for paper-folding, you'll be amazed how quickly they progress onto more complicated origami challenges.

What You Need To Make An Origami Wolf
One sheet of square paper: Origami paper is obviously perfect for your wolf, but younger children might find it easier to use squares of craft or scrapbook paper that are a bit easier for little hands to fold.
A ruler.
Coloured pencils, pens or crayons.
How To Make A Wolf: Origami Instructions
1. Start by putting your paper square onto a flat surface and turn it so that is in a diamond shape:

2. Take the bottom corner of the diamond and fold it to meet the top corner so that your paper is now shaped like a triangle.
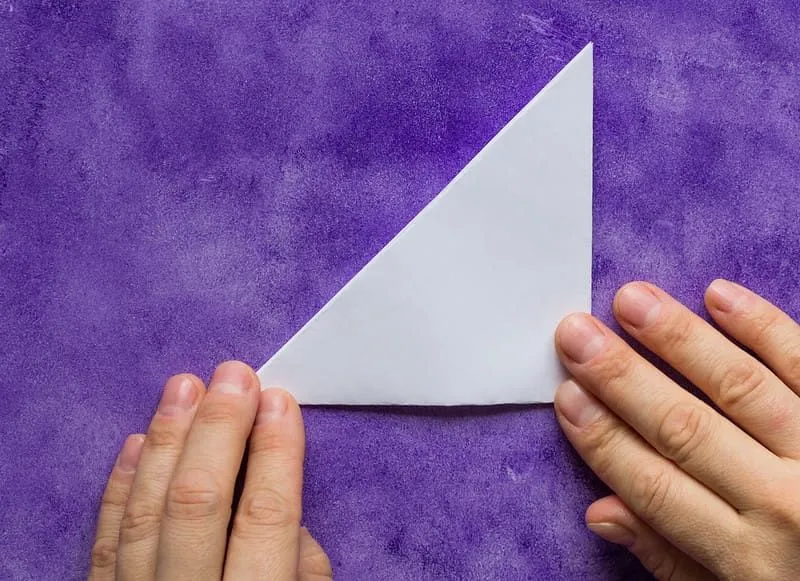
3. Now, fold the right corner of the triangle to meet the left corner. Your paper will now look like a sailing boat mast:

4. Next, you need to take hold of the flap at the bottom left of the paper triangle and fold it upwards to meet with the point at the top of the triangle.
5. Turn the paper triangle over and fold the other flap up to meet the top point.
6. Now turn the triangle 45 degrees and fold upwards at the centre. This will form the legs of your origami wolf. Make sure the crease line is nice and sharp by going over it with a ruler or with your fingernail.
7. Hold the left corner of your origami wolf and gently open up the three front flaps.
8. Squash fold the centre flap forwards and down. This will make the head of your origami wolf. The flaps on either side of the head are origami wolf ears.
9. Fold the bottom left corner inwards to make the origami wolf tail.
10. Use coloured pencils, pens, or crayons to draw on the face of your origami wolf.
Extra Origami Wolf Ideas
- Repeat the origami wolf instructions to make a whole pack of origami wolves.
- Make each origami wolf individual by using paper squares in different sizes and colours.
- Get even more creative and decorate each paper wolf using pens, pencils, glitter, and stickers.
How to Make a Paper Wolf Origami
Source: https://kidadl.com/articles/how-to-make-an-origami-wolf
Belum ada Komentar untuk "How to Make a Paper Wolf Origami"
Posting Komentar