How to Make Origami Monkey Out of Paper

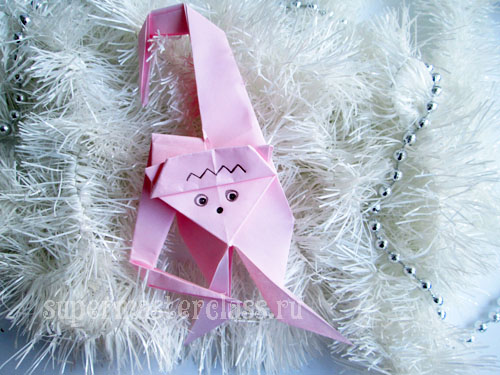 We bring to your attention a very popularThe scheme of folding a monkey in the technique of origami. Difficult moments are not foreseen, so we advise you to quickly take a square sheet of paper and start creating a cute monkey - especially since she can find a lot of uses in New Year's chores - for example, decorate her gift packaging or stick it on.
In order to fold an origami monkey, take:
square sheet of paper - colored two-sided or one-sided; scissors.
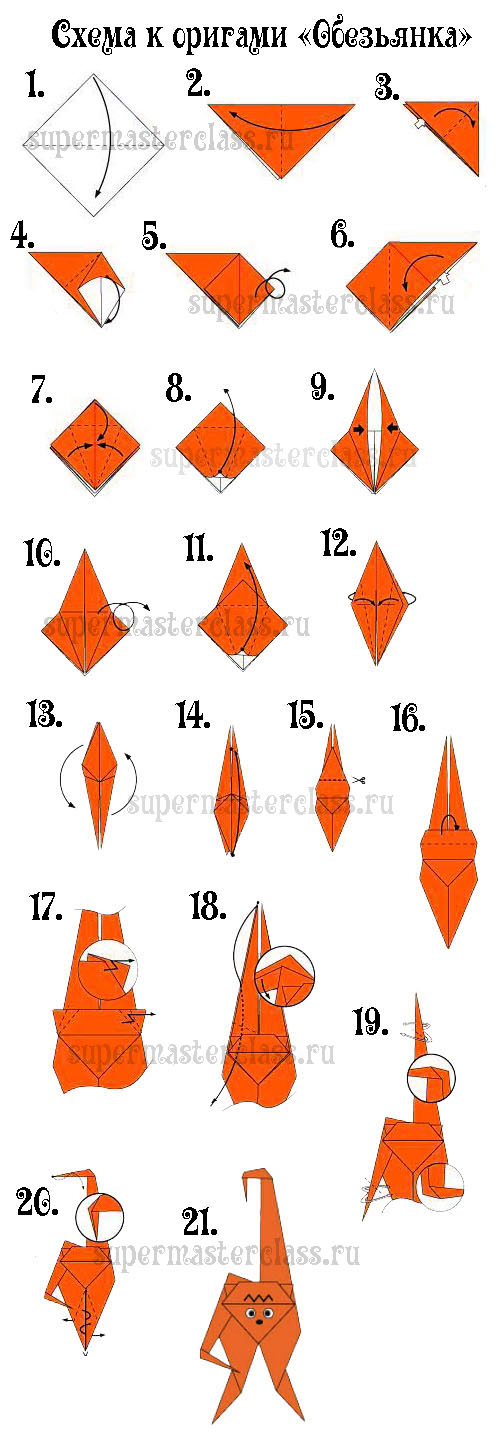
The scheme for the monkey origami
Origami monkey paper with their own hands: description
We have compiled a description for each step of the above scheme. Step 1. Place a square sheet of paper in front of you and bend it diagonally. 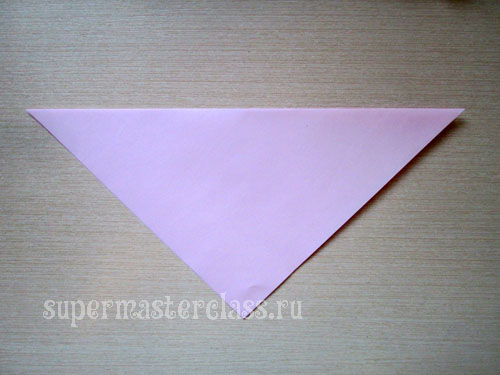 Step 2. Once again fold the paper in half.
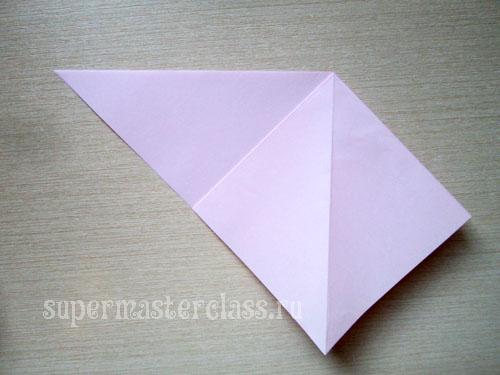
 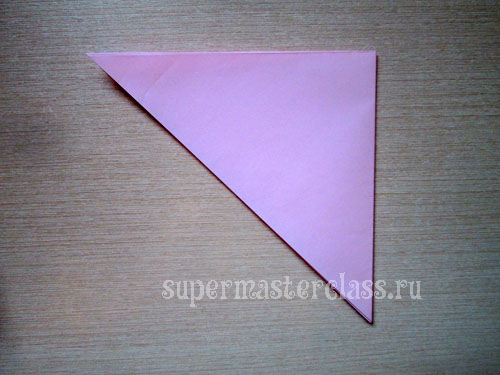 Step 3. We take the upper left corner (but only the upper layer!), Open it and stack over the lower corner (see the diagram).
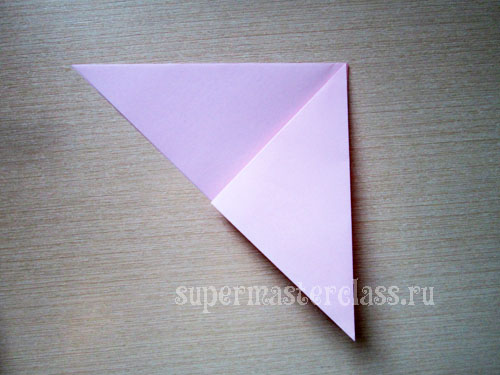
 Step 5. We turn the figure so that the back side is now facing up. Step 6. Take the upper (now) right corner and open it in the same way as it was done in step 3.
  Step 7. Mentally draw an axis through the upper and lower corners of the diamond in front of us. To this axis we bend the side parts, combining the underside of the rhombus and the intended axis.
 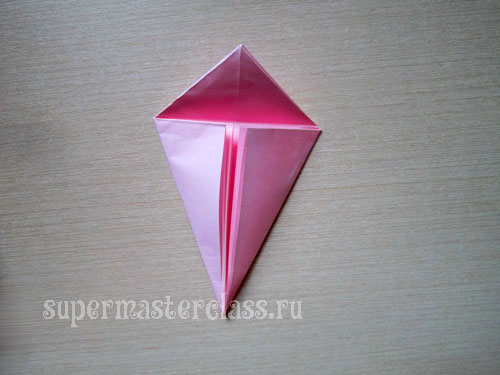 The upper corner is also bent to the center of the structure.
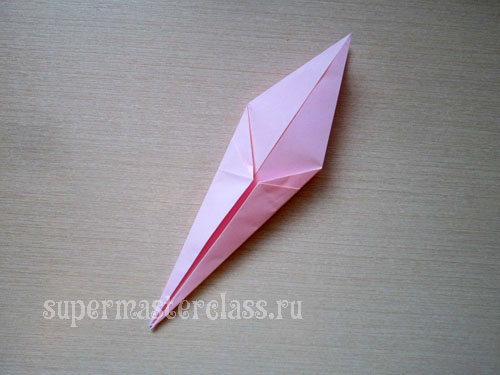
 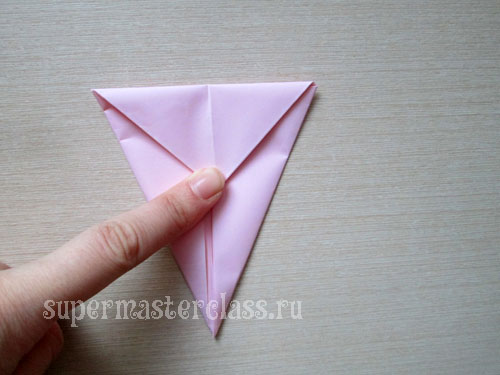 Step 8. Extend all the parts that we bent in the previous step. Take the lower corner with your fingers (its upper layer) and pull it up.
 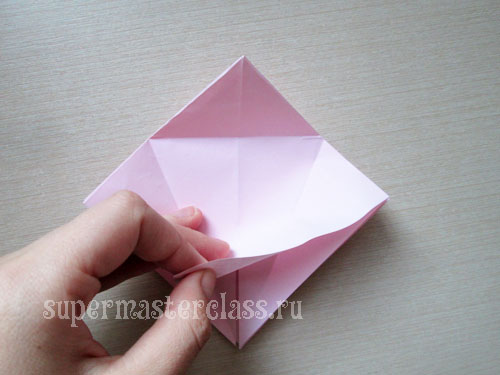 Step 9. It will turn out such a figure.
 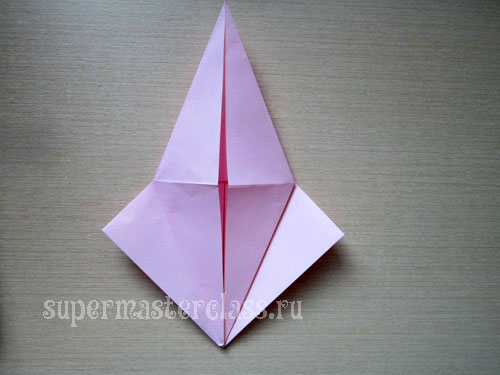 Step 10. Turning the figure over so that its back side is at the top.
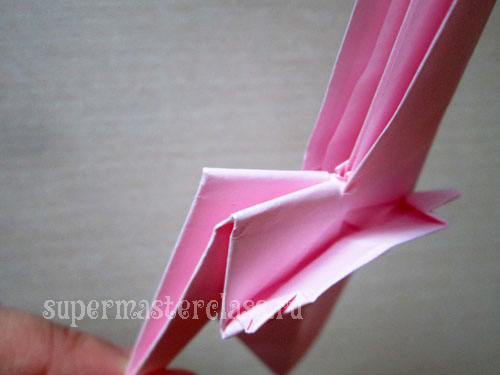
  Step 11. As in step 8, take the bottom corner and pull it up, laying, as shown in the photo below.
 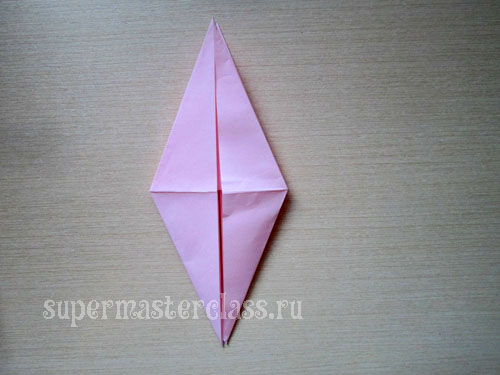 Step 12. We fold the side parts to the central axis, combining the lower sides of the figure and the axis itself, while taking only the upper parts. We turn over and do the same for the back side of the figure.
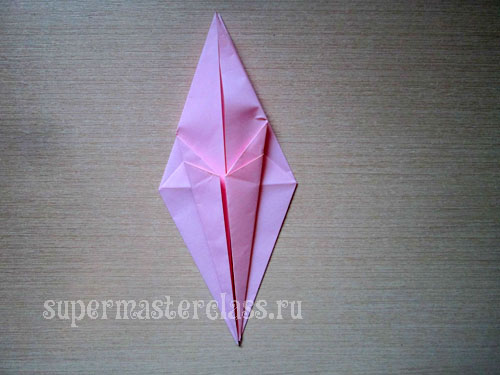
 Step 13. Rotate the shape 180 degrees. Step 14. Take the bottom corner (top layer) and lift it up.
 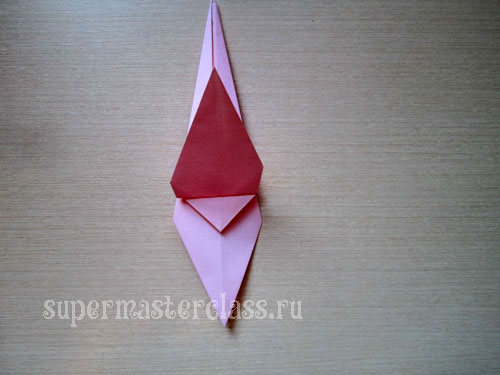 Step 15. Cut the upper part of the outer paper layer of the figure.
 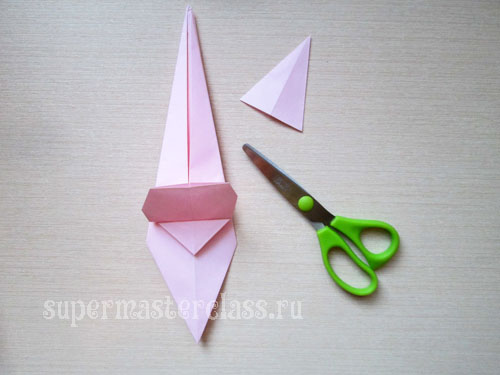 Step 16. Cut the bend inward.
 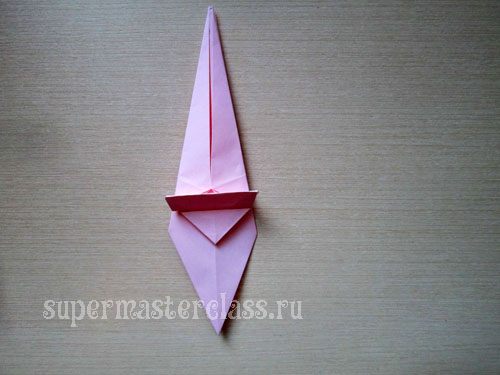 Step 17. Fold the ears, as shown in the diagram and in the photo.
 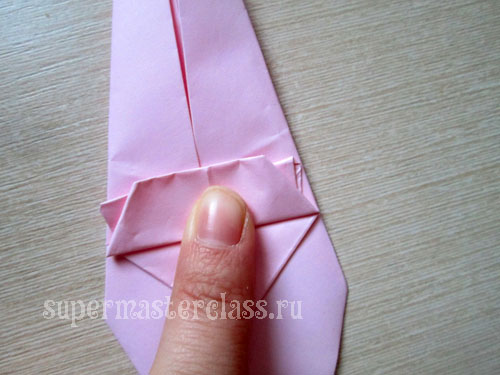 Step 18. It remains to bend the limbs. To do this, bend the upper left paw with the fold inward so that it now faces down.
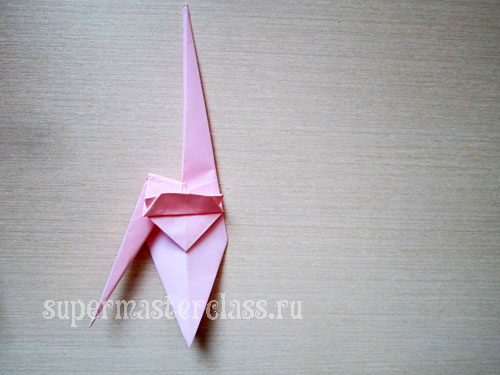
 Step 19. The second upper limb is bent in the middle to the left, making the fold out.
 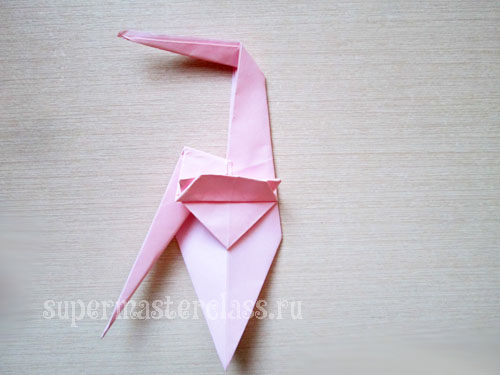 Step 20. The same limb is bent again, in the "wrist" of the hand, this time the fold goes down, and the fold goes inside. It turns out such a hook for itself, for which the monkey will then be easily hung on a Christmas tree.
 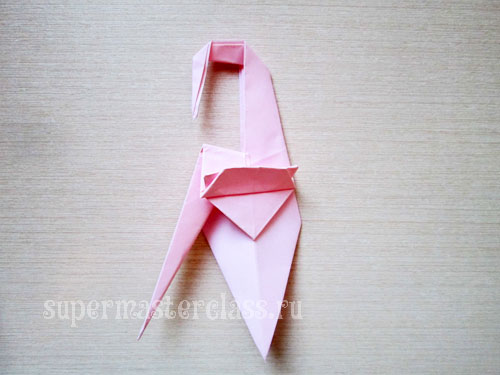 Cut the lower part to make two separate lower limbs.
 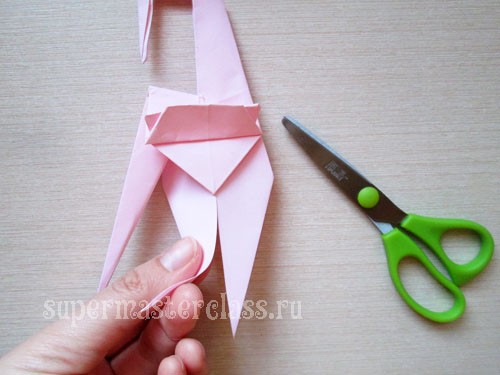 Each of the hind legs arched out.
 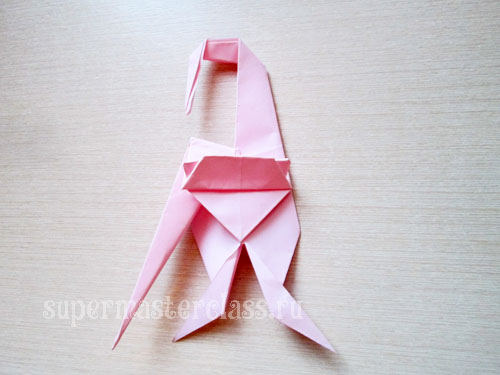 Origami monkey ready. It remains only to draw her a funny face.
  Eva Casio specifically for the site Workshops on needlework Previous article: Next article:
Comments
How to Make Origami Monkey Out of Paper
Source: https://handmadebase.com/origami-monkey-with-a-scheme-master-class-2/
Belum ada Komentar untuk "How to Make Origami Monkey Out of Paper"
Posting Komentar